In February 2019, Vitaly Shorokhov, a popular blogger and founder of the Green Art Moscow channel, installed an external Tetra EX1200 Plus filter in one of his aquariums. After 10 months, he explains how to properly maintain the filter.
Why does the external filter need to be cleaned?
The external filter in the aquarium is primarily used for biological and mechanical water purification.
Biological filtration is associated with colonies of nitrifying bacteria found on the sponges and substrates of the aquarium filter. These microorganisms are capable of converting toxic ammonia from fish into safer nitrite, and then into nitrate. This process is called the nitrogen cycle, and the life and well-being of aquatic organisms directly depend on its correct functioning.
Mechanical filtration is the retention of water-insoluble solid particles: feed residues, fish feces, rotting plant leaves, etc. The long-term presence of such organic residues in the aquarium can lead to cloudy water, and subsequently to fish poisoning. The mechanical cleaning function is realized by using coarse and fine pore sponges.
Gradually, organic residues clog the pores of the sponges, as well as a deposit on the filter hoses, which inevitably leads to a decrease in their performance.
Regular filter maintenance is essential to maintain the quality of water purification and high power.
How often does the external filter need to be serviced?
Regular maintenance of the external filter depends on the individual aquarium. It is influenced by a large number of factors: population density, species composition, and size of fish, frequency of feeding and feed used, etc. In general cases, it is sufficient to clean the external filter twice a year, however, depending on the aquarium, the period can vary both on the shorter and big side. It is recommended to carry out a full filter service if the outflow rate has dropped by about half.
Disconnecting the external filter from the aquarium
Most often, the external filter is located in the cabinet directly under the aquarium. It should always be below the water level, as water from the aquarium flows into it by gravity.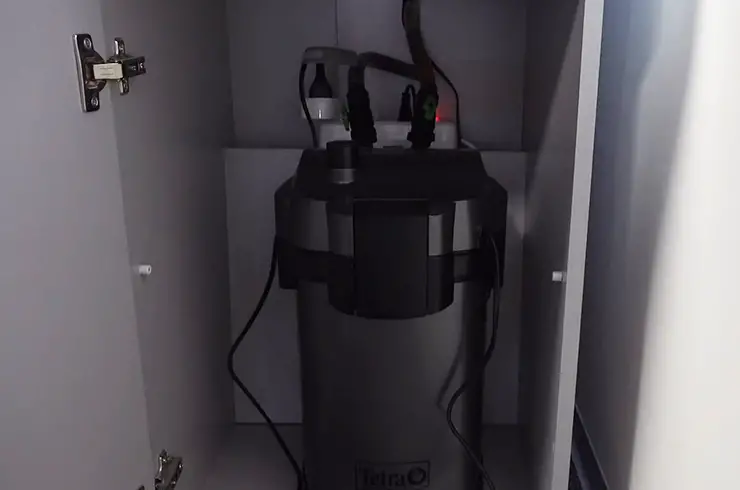
Attention! All maintenance work on the filter must be performed after disconnecting it from the mains, in order to avoid electric shock.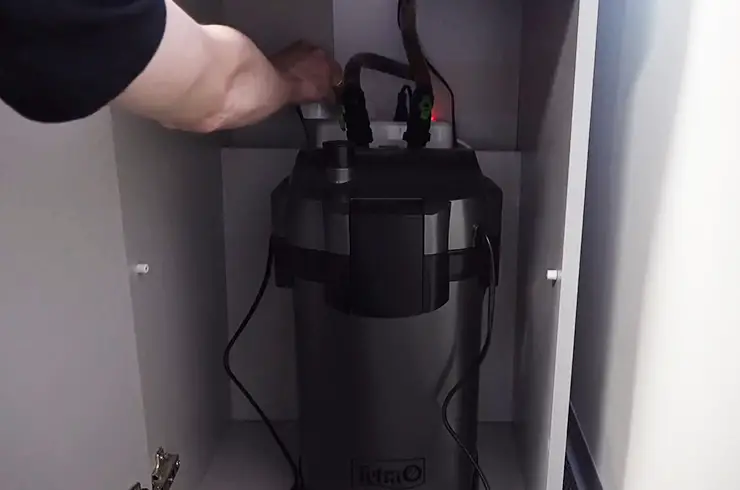
Next, turn off the two green taps through which water enters the filter. To do this, the valves must be turned perpendicular to the hoses.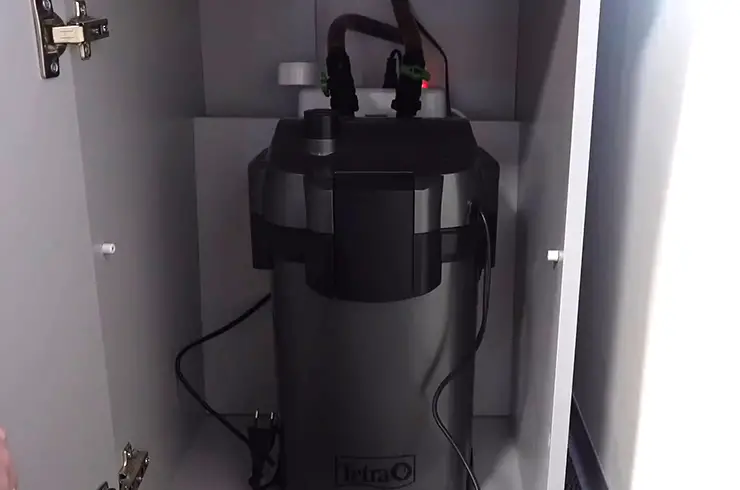
Pull up on the black lever located between the taps. There is another green one under it. It must be lifted up and rotated 90 ° counterclockwise. The adapter can then be removed and left hanging on the hoses. This system makes it easier to fill the filter after cleaning.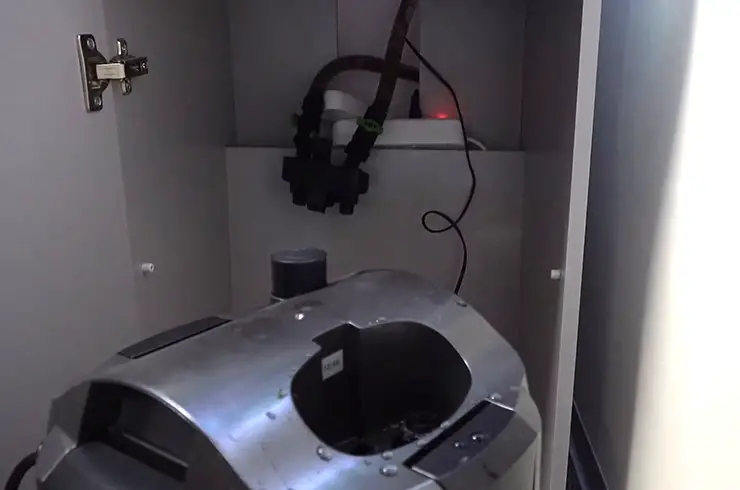
We remove the inlet and outlet pipes from the water and then drain the water from them. To do this, place a bucket under the adapter, return the green and black levers to their original positions and open both taps on the hoses.
Cleaning the external filter
We transfer the filter and hoses to the bathroom or shower.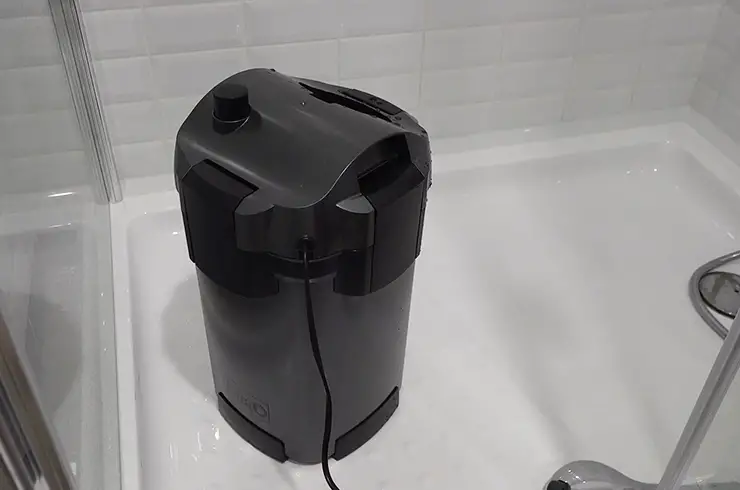
We rinse the filter head and rotor chamber
Detach the 4 clips that secure the filter head to the canister.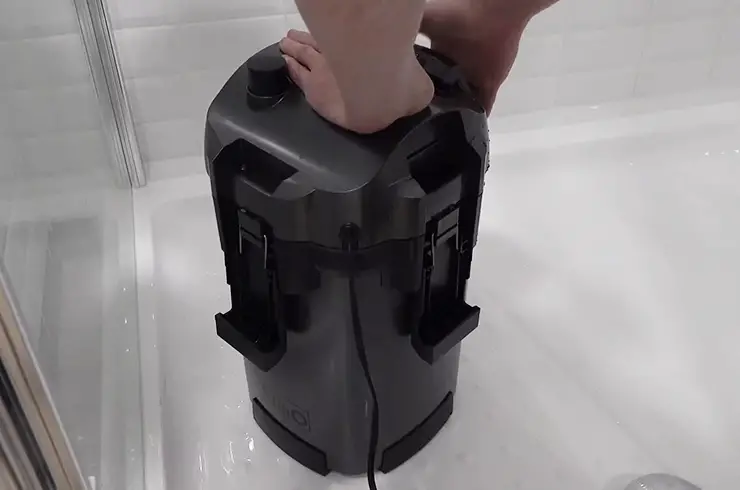
Pull up the filter head and remove it.
Turn the head over, in the middle you will see a round lid. This is a rotary chamber. Turn the cover counterclockwise and remove it (the arrows on the cover indicate the correct direction of rotation). We take out the rotor together with the axle, carefully wash it. Use a cotton swab to remove mucus from the chamber.
The ceramic axle must be handled with care, do not bend it, and do not lose the black rubber tips on both sides of the axle.
Next, turn the head over again and send a powerful stream of water into each of the holes at the top. If there is a special brush, you can additionally clean it with it.
We put the rotor in place and close the lid.
We rinse the canister and filter media
Most of the dirt is retained by sponges and substrates, which are located in the canister of the external filter. Their cleaning is the main stage of maintenance.
First, we take out a protective plastic mesh.
We sequentially remove baskets with filter media from the canister. For convenience, each of them is equipped with a special handle.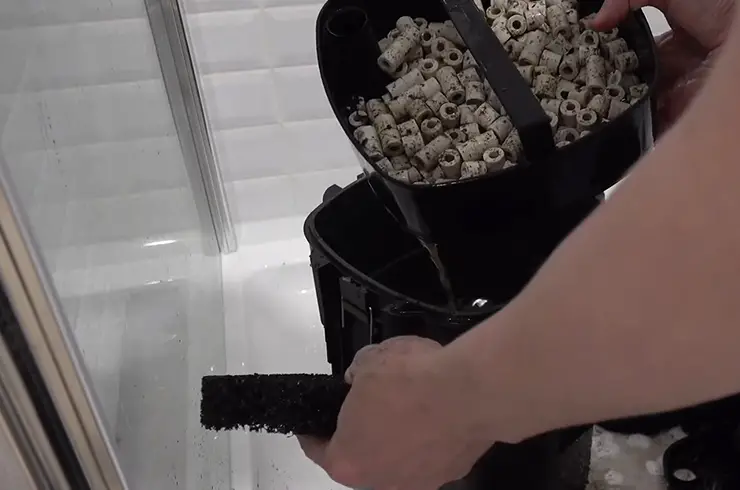
We drain the dirty water from the filter canister. Then rinse the canister well with water. We wash the baskets with filter materials. Whenever possible, it is recommended to do this with the water drained from the aquarium to maximize the preservation of the beneficial bacteria colonies.
We are assembling the filter. Baskets with fillings are arranged in the following order (from bottom to top):
- Ceramic rings for breaking up the water flow and retaining the largest dirt particles. A black bio-sponge is laid on top of them.
- Bio balls are plastic products with a large surface area, which are actively colonized by nitrifying bacteria.
- Bio-sponges in the amount of 2 pcs.
- Another bio-sponge. On top of it, it is recommended to lay a finely porous sponge of fine cleaning made of synthetic winterizer, which will retain the smallest suspensions. Also, if necessary, activated carbon is placed in the upper basket.
To position, the baskets correctly, look at the top of the filter canister. On one of the ends, you will find directional arrows. They must be aligned with the arrow located on the handle of each basket.
It is recommended to place the required number of Tetra Bactozym capsules (1 drop / 100 l of water) between the lower basket and the bio balls. They contain nutrition for beneficial bacteria, which will quickly restore their colonies lost during the cleaning process.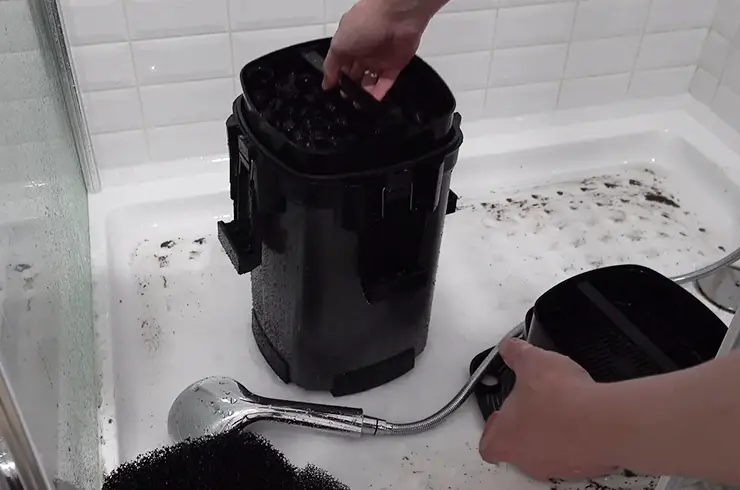
After installing the baskets, place the plastic grate on top. Replace the filter head. Make sure that the fitting on the underside of your head fits into the hole provided for it. Press the head a little against the canister and fix it with four clips. It is best to do this from both sides at the same time.
We rinse the hoses and adapter
To clean the adapter, carefully unscrew two taps with hoses from it counterclockwise. If the green and black levers are down between the fittings, the adapter holes are open and can be cleaned with a water jet and a brush.
We unscrew the stopcocks and plastic pipes for the intake and outlet of water from the hoses. We wash them thoroughly. Dirt settling on the walls of the hoses can significantly reduce the performance of the filter, therefore it must be removed with the special Tetra TB 160 Tube Brush. Upon completion of the procedure, we install the taps and plastic tubes in place.
Putting the external filter back in place
We install clean water intake and outlet hoses into the aquarium, screw the opposite ends with taps at the end back to the adapter. The suction hose is connected to the fitting marked “IN”, the outlet hose is connected to the “OUT”.
We install the filter in its place and attach the adapter to it.
We open the green taps on the hoses and vigorously press the start button several times – water will begin to flow into the filter. If you did not remove the hoses, then it will be enough to open the taps, water will immediately begin to fill the filter.
Important! Never use the start button if the filter is already filled with water, it could damage it.
As the filter fills, air displaced by water will escape from the tube outlet. After filling, we turn on the device to the network, the filter will immediately start its work. We check the tightness of all connections. To remove any remaining air from the filter, you can shake it slightly from side to side.
Top up the aquarium with water at the level that dropped as a result of filling the filter.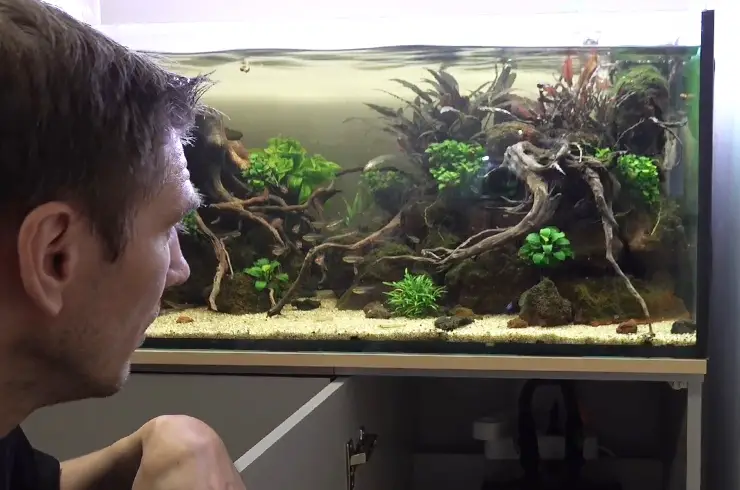
Cleaning the external filter is simple and easy to do at home. Do not neglect regular maintenance, because this will maintain the high quality of water purification and the functioning of the external filter.

